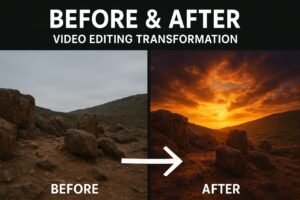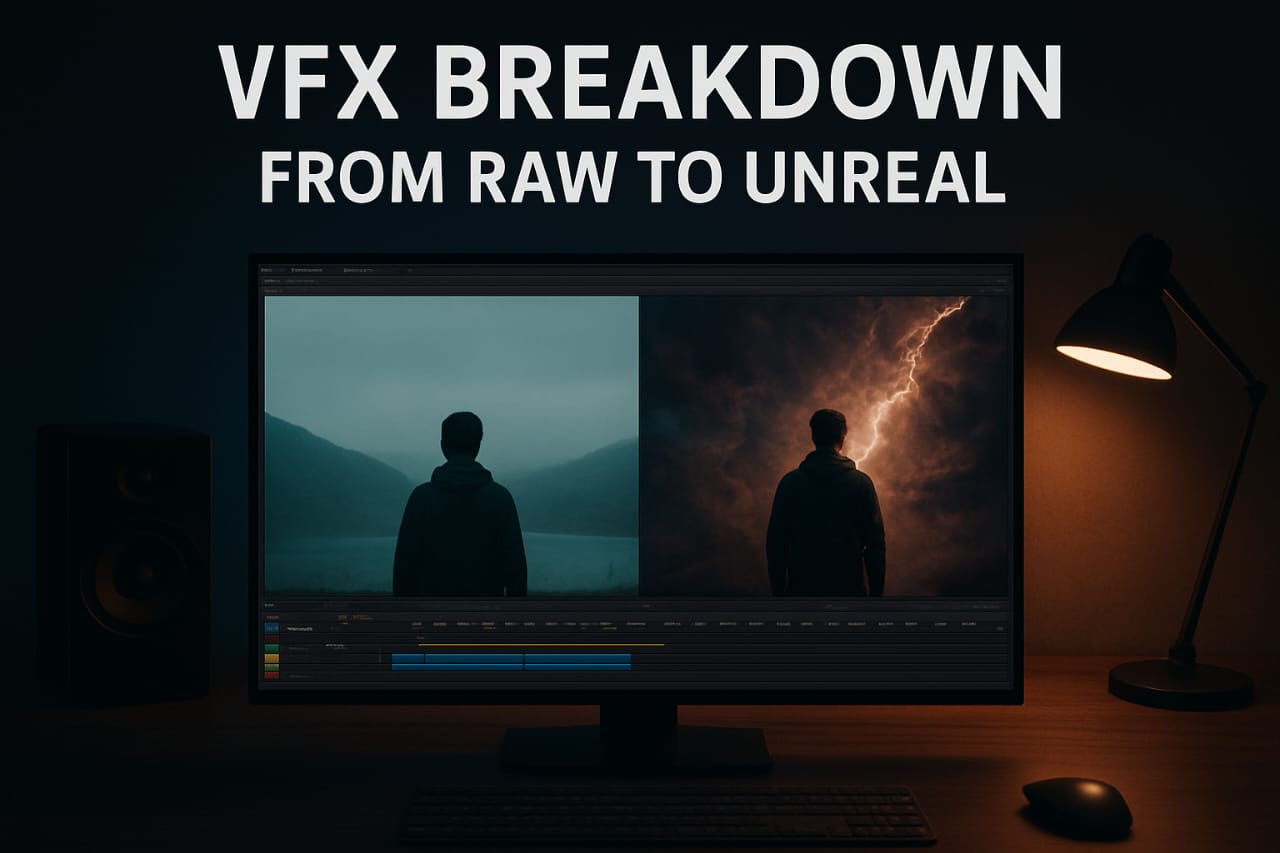
Have you ever wondered how a simple raw clip turns into a jaw-dropping VFX cinematic shot?
In this post, I’m sharing my complete breakdown process of transforming raw footage into something unreal and visually stunning! 🎬
This is the same workflow I use for my own projects and YouTube edits under Yash Edits — whether it’s sky replacement, particle effects, or full cinematic compositing.
🎞️ 1. The RAW Footage
Every VFX project starts with a clean base — the RAW footage.
It’s important that your base video is stable, high quality, and well lit.
Without good raw input, even advanced VFX won’t look natural.
🧠 Tip: Shoot in flat color profile (like S-Log or D-Log) for more color flexibility in post-production.
🧩 2. Tracking & Masking
This is where the magic begins!
I use Adobe After Effects and Mocha Pro for accurate motion tracking and masking.
Tracking helps you attach VFX elements (like smoke, light, or objects) so they move naturally with the footage.
🧠 Tip: Always use Planar Tracking for moving surfaces — it gives smoother and more realistic results.
💨 3. Adding Unreal VFX Elements
Once tracking is complete, I start compositing visual elements —
like particles, fire, fog, explosions, or sky replacements.
I mostly use:
- After Effects (for layering and blending modes)
- Unreal Engine (for high-quality 3D environment renders)
- Element 3D Plugin (for integrating 3D objects in real footage)
🧠 Tip: Match lighting and shadows of your VFX to the original footage — it makes the scene look seamless.
🎨 4. Color Grading & Cinematic LUTs
After adding all VFX layers, I move to color correction and grading to unify everything.
This is the step that blends the VFX with the real-world environment.
I use Lumetri Color + custom LUTs for creating a rich cinematic tone.
A slightly desaturated, contrasty look works best for sci-fi or dramatic scenes.
🔊 5. Sound Design & Final Touch
VFX is incomplete without sound.
I add subtle sound effects like explosions, whoosh, debris impact, or ambient air to make visuals feel alive.
🧠 Tip: Sync your SFX perfectly with on-screen actions — this small detail creates huge impact!
⚙️ 6. Final Render & Export
Once everything looks perfect, I export the project using high bitrate settings.
Preferred format – H.264 / H.265 (4K) with a bitrate between 20–30 Mbps.
💡 Always preview before export to ensure no frame glitches or unsynced sound effects.
💬 Conclusion
From a plain RAW clip to a mind-blowing cinematic scene — this is what real VFX artistry looks like.
Each step, from tracking to color grading, adds a new layer of realism.
If you want to make your edits look truly “Unreal,” practice, experiment, and keep learning new techniques.
👉 Follow Yash Edits for more VFX breakdowns, cinematic tutorials, and creative editing inspiration!